

Aircon Split Unit Installation: What the Process Actually Involves
Wondering what aircon split unit installation actually involves? We walk through every step of the process, costs, and why a licensed installer matters.


Wondering what aircon split unit installation actually involves? We walk through every step of the process, costs, and why a licensed installer matters.
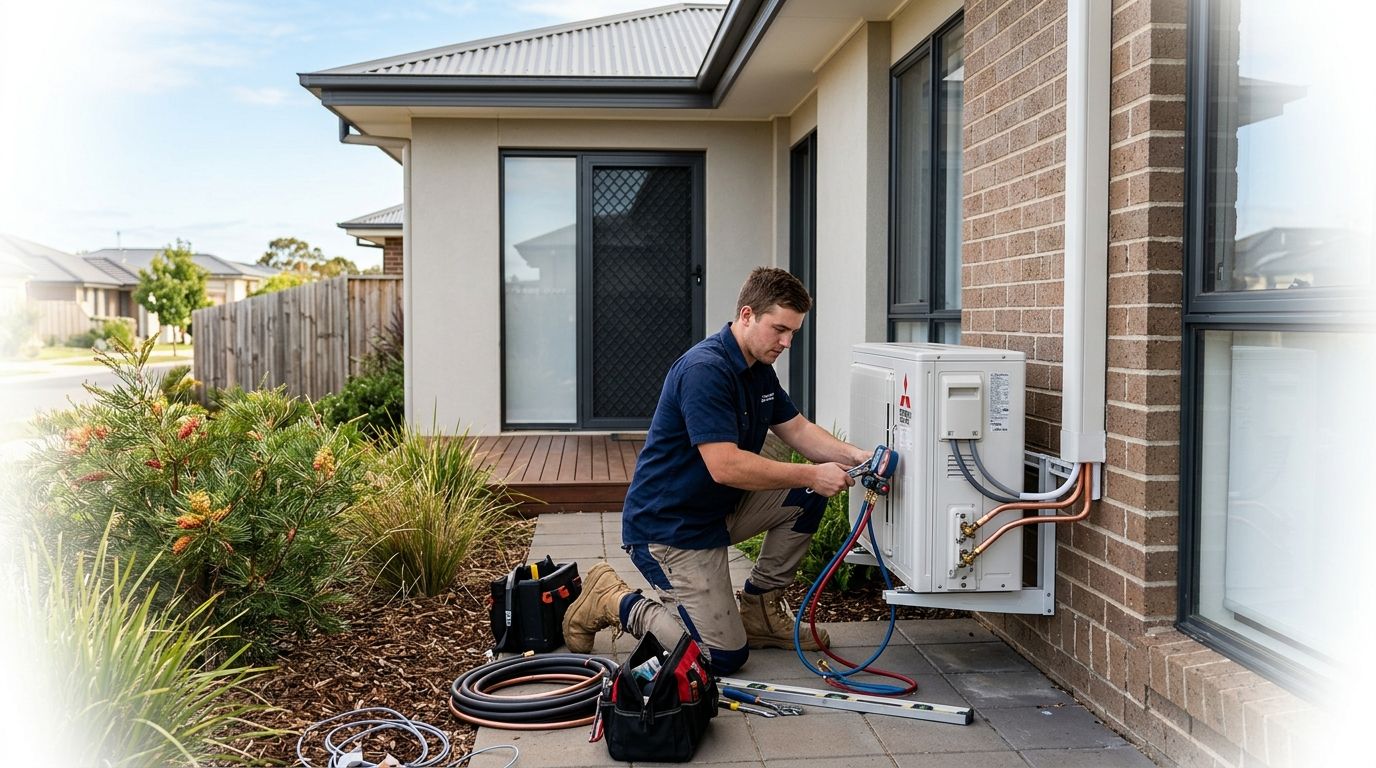
A split system air conditioner consists of two units: an indoor head unit that blows conditioned air into the room and an outdoor compressor unit that expels heat. The two are connected by refrigerant lines, a condensate drain and electrical wiring that run through the wall. Aircon split unit installation is more involved than most people expect, and under Australian law it is not a DIY job. Handling refrigerant requires an ARC (Australian Refrigeration Council) licence, and the electrical work must be completed by a licensed electrician.
Get the installation wrong and you are looking at poor efficiency, premature breakdowns, voided warranties and potential safety hazards. This article walks through every stage of the process, from the initial site assessment right through to commissioning and handover, so you know exactly what a professional installation should involve.
Key takeaways
A thorough site assessment is the foundation of a good split system installation. Before any drilling or mounting begins, a qualified installer will evaluate the room's size and layout to confirm the correct unit capacity in kilowatts, check the planned route for refrigerant lines between the indoor and outdoor units, and inspect the home's electrical switchboard to confirm there is sufficient circuit capacity. Skipping this step is one of the most common reasons installations underperform.
Room size is the starting point for capacity selection. A small bedroom of around 15 square metres typically needs a 2.5kW unit, while a large open-plan living area of 50 square metres or more may require 7kW or above. An installer who quotes without measuring the space is a red flag. Ceiling height, insulation quality, window area and sun exposure all affect the final kW recommendation.
Electrical capacity is another factor that catches homeowners off guard. Many older Australian homes run air conditioning off a shared circuit, which can cause nuisance tripping or, worse, a fire risk. Some installations will require a dedicated 15-amp or 20-amp circuit to be run from the switchboard by a licensed electrician before the air conditioning work can proceed. This adds cost and time, so it is worth confirming early.
Indoor unit placement follows a few firm rules. The unit should be mounted high on an exterior wall to allow warm air to be drawn in efficiently and cooled air to circulate across the room. It needs clear space in front of it, at least 15 centimetres of clearance above, and it should not be positioned directly above a heat source or in a spot that receives direct sunlight. Mounting near a wall stud is essential for a secure, vibration-free fit.
Outdoor unit placement is equally important and often underestimated. The compressor needs good airflow around it, shade from direct afternoon sun where possible, and solid, level ground or a wall bracket that can bear its weight. It should not be positioned directly under a dripping roof edge, in a confined alcove with no air circulation, or somewhere that makes future servicing difficult. Noise is also worth considering: placing the outdoor unit directly outside a bedroom window will be noticed on warm nights. For a full breakdown of outdoor unit placement rules, see our guide to outdoor AC unit placement.
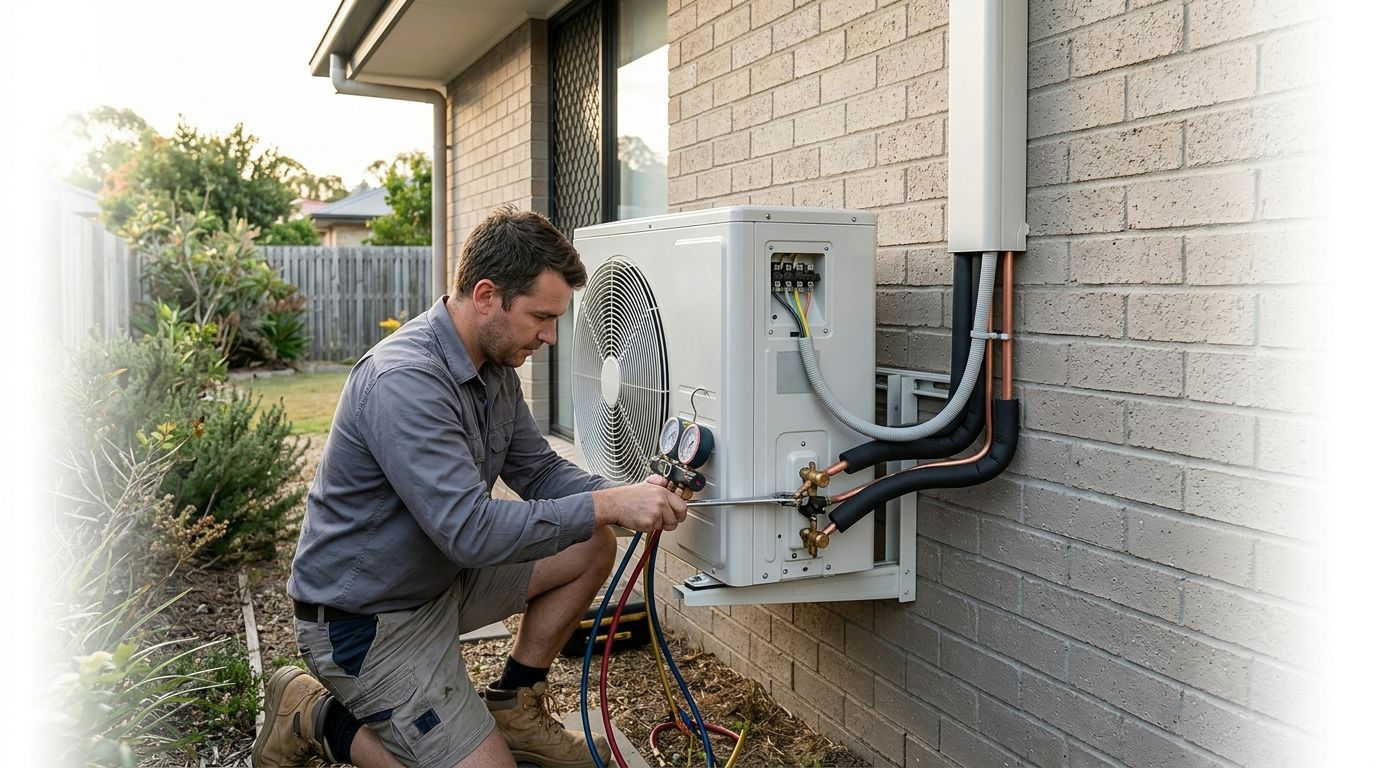
A professional aircon split unit installation follows a consistent sequence of eight steps, regardless of brand or model. Each step builds on the last, and skipping or rushing any one of them is how systems end up underperforming, leaking or failing early. Here is exactly what a licensed technician does from the moment they arrive on site.
A standard split system installation takes two to three hours for most homes. The fastest jobs are those where the indoor and outdoor units sit on the same wall with a short, direct line set, minimal drilling and an existing dedicated circuit. A standard back-to-back installation is the simplest and fastest option, and it is the most common setup in Australian apartments and single-storey homes.
More complex jobs take longer. Here is what adds time to an installation:
A complex installation with a long line set, brick walls and a new circuit can take a full day. Frozone Air provides real booking windows rather than vague all-day estimates, so you know when the technicians will arrive and roughly when they will be done.
A qualified split system installer must hold two licences as a minimum: an ARC (Australian Refrigeration Council) licence to legally handle refrigerant and a valid electrical licence to connect the system to your home's wiring. Without both, the installer is operating illegally, your warranty may be voided and your home insurer could refuse a claim if something goes wrong. Always ask to see both licences before booking.
Beyond the legal minimums, here are the credentials and qualities worth checking before you commit:
Frozone Air installs all major brands across Sydney and Melbourne, including the Daikin Cora series (such as the popular 2.5kW FTXM25Y), the Mitsubishi Electric MSZ-AP series (including the 3.5kW MSZ-AP35VGD) and the Fujitsu ASTG series (such as the 2.5kW ASTG09KMCA). Our technicians are trained across each brand's specific installation requirements, so you are not getting a generalist who has to guess at the commissioning steps. If you are looking for air conditioning installation in Sydney, Frozone Air's licensed technicians handle the full process from site assessment through to handover.
Supply-and-install packages are worth considering if you have not yet purchased a unit. Buying the system and arranging installation through the same provider means one point of contact, matched warranties and no risk of the installer blaming the supplier if something goes wrong on day one.
A standard single split system installation in Australia typically costs between $600 and $1,200 for labour, on top of the unit price. The final figure depends on wall material, line set length, whether a new electrical circuit is needed and your location. For a full breakdown of pricing, see our guide to air conditioning installation cost in Australia.
Most split system installations take two to three hours. Simple back-to-back installations in apartments or single-storey homes with an existing dedicated circuit sit at the lower end of that range. Jobs involving brick walls, long line set runs or a new circuit from the switchboard can take a full day.
No. In Australia, split system installation is not a legal DIY job. Handling refrigerant requires an ARC licence and all electrical connections must be made by a licensed electrician. Attempting either without the correct licence carries significant fines, voids the manufacturer's warranty and can create serious safety hazards.
In most Australian states, a standard residential split system installation does not require council approval and is treated as exempt development. Exceptions apply in heritage-listed properties, strata buildings with specific by-laws and some local government areas with noise or aesthetic restrictions. Check with your strata manager or local council if you are unsure before booking.
Split system installation is a multi-step process that requires licensed professionals, takes two to three hours for a standard job, and has a direct impact on how well your system performs over its lifetime. Getting the site assessment right, following the correct installation sequence and commissioning the unit properly are not optional extras. They are what separates a system that runs efficiently for 15 years from one that causes headaches within 12 months.
Frozone Air services Sydney and Melbourne, installing all major brands across both cities. Our licensed technicians handle everything from the initial site assessment through to final handover, with no shortcuts on the steps that matter.
Call us on 1300 801 839 or request a free quote online to get a transparent, itemised price for your installation.