How to Clean Your Air Conditioner: A Step-by-Step DIY Guide
Learn how to clean your air conditioner at home with our step-by-step DIY guide. Improve efficiency, air quality, and extend your system's lifespan.
Learn how to clean your air conditioner at home with our step-by-step DIY guide. Improve efficiency, air quality, and extend your system's lifespan.
Picture this: it's 38 degrees in Sydney, you've cranked the aircon to full blast, and the unit is running non-stop but barely taking the edge off the heat. Before you call for repairs, check when you last cleaned it. Knowing how to clean your air conditioner properly is one of the simplest ways to restore lost performance and keep your system running the way it should.
A dirty unit has to work harder to push air through clogged filters and coils, which means longer run times, higher electricity bills and less effective cooling. Dust and moisture trapped inside also create the perfect conditions for mould and bacteria to grow, which gets circulated straight into your living space. Over time, the added strain shortens the lifespan of the compressor and other components.
For a deeper look at what neglect actually costs you, read our article on the importance of air conditioner cleaning. Otherwise, read on for the full step-by-step process.
Key takeaways
A thorough DIY clean does not require specialist equipment. Most of what you need is already around the house, and the few extras are cheap and easy to find at a hardware store.
Before you touch anything, switch the unit off at the wall isolator or circuit breaker, not just via the remote. The remote puts the system into standby, which still leaves live voltage inside the unit. Cutting power at the source is the only safe way to work on it.
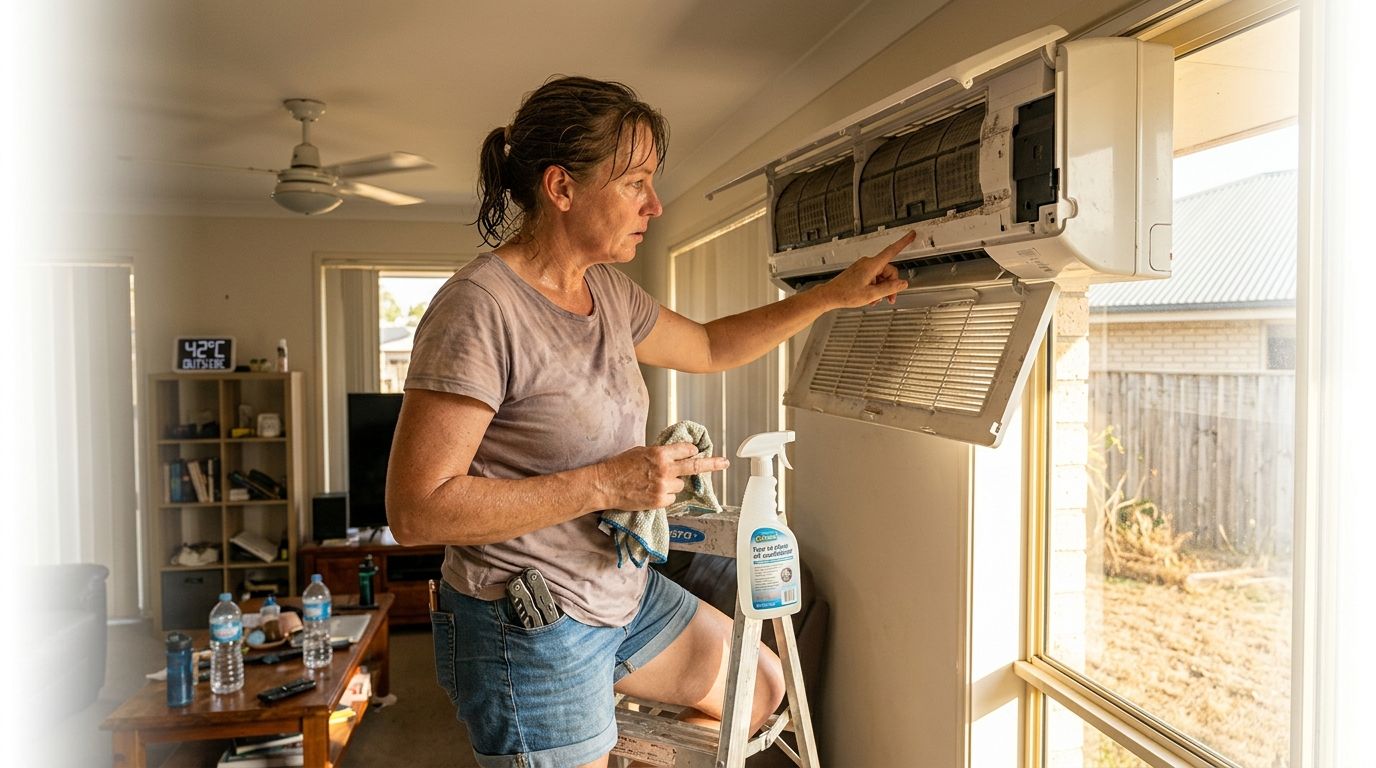
If you are using a spray-on coil cleaner, wear gloves and eye protection. These products contain mild acids or alkaline compounds that can irritate skin. Never use a high-pressure hose on indoor components. The fins on the indoor coil are extremely delicate and bend easily, and excess water can damage the electrical components behind the coil.
Cleaning a split system air conditioner yourself takes around 30 to 45 minutes and requires no specialist tools. The process below covers the indoor wall-mounted head unit and the outdoor condenser unit separately, since each has different risks and limits for what a homeowner should handle.
Work through these steps in order. Skipping ahead, particularly reinstalling filters before they are fully dry, is the most common mistake that leads to mould growth inside the unit.
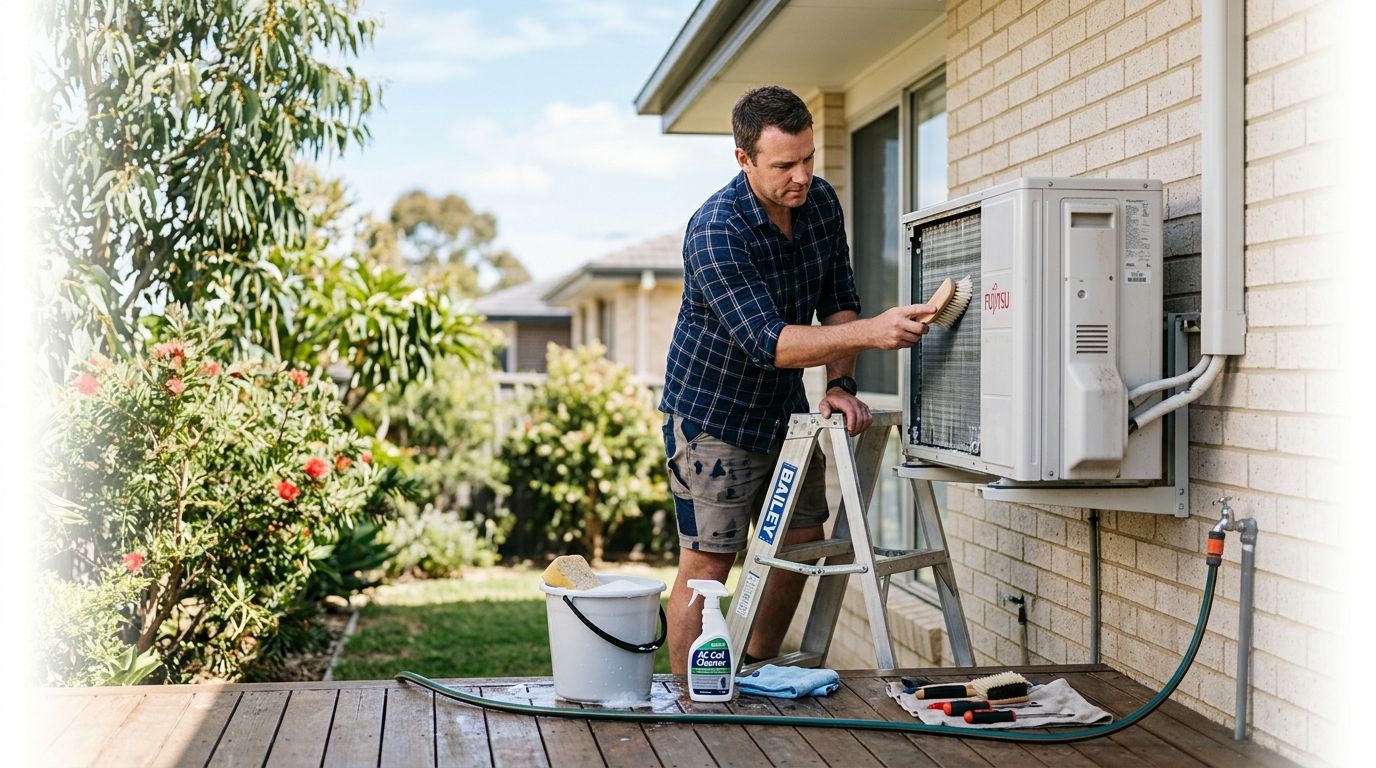
The outdoor condenser unit handles the heat exchange side of the refrigeration cycle and sits exposed to whatever the Australian climate throws at it. Leaves, grass clippings, cottonwood seeds and general debris all accumulate around and inside the outer casing over time.
Here is what you can safely do yourself:
That is where DIY stops. Internal coil cleaning, refrigerant checks, electrical components and anything that requires opening the outer casing of the condenser must be handled by a licensed technician. Attempting these yourself risks damaging the coil, voiding your warranty and, in the case of refrigerant, breaching Australian regulations that restrict handling to licensed refrigeration mechanics. For anything beyond a basic rinse, book a professional air conditioning cleaning service to have it done properly.
For most Australian households, cleaning the filters every four to six weeks during heavy-use periods (summer and winter) and doing a full DIY clean every three months is the right baseline. A professional deep clean once a year keeps the system in good condition long-term.
Here is a practical schedule to follow:
The major brands are consistent on this point. Daikin's owner manuals for the Cora Series (including the popular FTXM25Y) and Mitsubishi Electric's MSZ-AP Series both specify regular filter cleaning as a condition of maintaining warranty coverage. Skipping it is not just bad for performance, it can affect your warranty claim if something goes wrong.
The electricity bill impact is real too. A filter clogged with dust forces the fan motor to work harder and reduces the heat transfer efficiency of the evaporator coil, which means the compressor runs longer to reach the set temperature. If your bills have crept up without an obvious reason, a dirty filter is one of the first things to check. For a broader look at running costs, our guide on how to avoid a spike in your electricity bill from your air conditioner covers the full picture.
A DIY clean handles dust, grime and surface mould, but some problems go deeper than what a microfibre cloth and a coil spray can fix. If your unit shows any of the signs below after a thorough clean, it is time to call a technician rather than repeat the process and hope for a different result. These are symptoms of underlying issues that a clean alone will not resolve, and many of them are covered in our guide to the most common air conditioner problems.
A professional service goes well beyond what is possible with household tools. A technician will perform a chemical coil flush to dissolve built-up biofilm and scale from the evaporator fins, flush the condensate drain line under pressure, check refrigerant levels and inspect for leaks, carry out an electrical inspection of the control board and wiring, and lubricate the fan motor bearings. None of these steps are safe or practical for a homeowner to attempt.
Frozone Air technicians service all major brands across Sydney and Melbourne, including Daikin, Mitsubishi Electric, Panasonic, Fujitsu and the Fujitsu ASTG Series. If your unit is showing any of the signs above, a professional service is the most cost-effective next step before the problem becomes a repair.
Regular DIY cleaning is straightforward, takes under 30 minutes once you know the process, and makes a genuine difference to how well your system performs and what it costs to run. Washing the filters every four to six weeks and doing a full clean each season will keep most units in good shape for years.
That said, some tasks genuinely require a professional. An annual service is the best way to protect your investment, catch small problems before they become expensive ones, and keep your warranty intact.
Ready to get your system properly sorted? Book a professional air conditioning service with Frozone Air online, or call us on 1300 801 839 to speak with the team. We service all major brands across Sydney and Melbourne with real booking times and up-front pricing.
Clean your air conditioner filters every four to six weeks during heavy-use periods like summer and winter. If you have pets or allergy sufferers in the household, clean them more frequently as pet hair and dander clog filters much faster than ordinary dust.
Yes, the indoor filters, coil fins, casing and condensate drain tray are all safe for a homeowner to clean with basic household tools. Internal condenser coil cleaning, refrigerant checks and anything requiring the outer casing of the outdoor unit to be opened must be left to a licensed technician.
A dirty air conditioner works harder to push air through clogged filters and coils, which raises electricity bills and reduces cooling performance. Over time, the added strain shortens the lifespan of the compressor, and trapped moisture creates conditions for mould and bacteria to grow inside the unit.
If a musty smell returns within days of cleaning, water is leaking from the indoor unit, airflow is weak despite clean filters, or the system cannot reach the set temperature, these are signs a professional service is needed. A DIY clean will not resolve underlying issues like a blocked drain line, fouled evaporator coil or low refrigerant.
Yes. A filter clogged with dust forces the fan motor to work harder and reduces heat transfer efficiency, which means the compressor runs longer to reach the set temperature. Regular filter cleaning is one of the simplest ways to keep running costs down without any changes to how you use the system.